

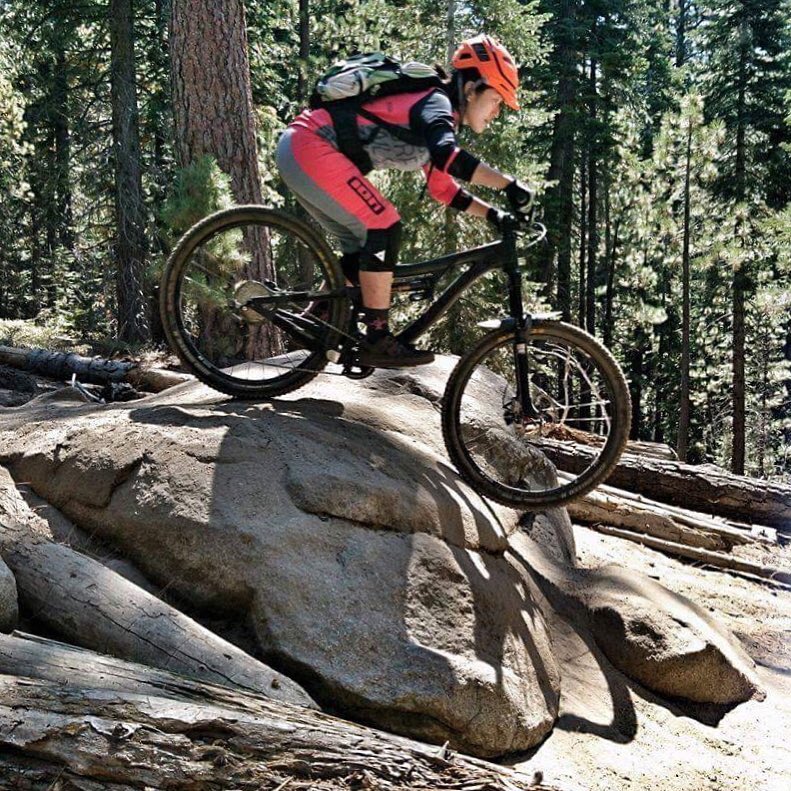
Check Yourself; Don't Wreck Yourself — Part I
/This is part one of a two-part series on how to keep your bike — and yourself! — in good working order for every ride. We enlisted the help of Sarah Hansing, a bike mechanic with more than 20 years' experience, in putting these lists together for you. Drop by Bike Station in Capitola to say hi to her!

Presenting the energetic and effervescent Sarah Hansing! All the funny bits in this blog post are courtesy of her quirky sense of humor.
PART I - The Pre-ride, Every-ride Bike and Self Check
Hands up — who’s ever had someone in their riding party forget to bring their riding shoes? Or worse, their helmet? No one is pointing any fingers here (no looking around now), but maybe you know someone who frequently has mechanical issues on the trail, or has “borrowed” an inner tube, a gel shot, your multi-tool or your entire bottle of water more than once. This month.
That stuff can be kind of a bummer, huh?
That’s why we’ve created the following checklist. Use it to check your bike and equipment the day before you ride. Maybe even make copies of this checklist and give them to friends who *ahem* might need this list. Perhaps it will accidentally, anonymously find its way under a windshield wiper or two at the trail-head...
The goal here is to make sure you and everyone you ride with is lock, stock and ready to roll every time you hit the trail, and there ain’t no shame in using a checklist to help with that.
Warning: It’s a long list. But you’ll get faster at going through the list with practice. And anyway, better safe than sorry!
Your Safety Gear:
- Helmet
- Gloves
- Protective gear such as knee pads, elbow pads, long socks
- Biking shoes
- Eyewear appropriate to the conditions and light
- Layers such as arm warmers, knee warmers, windbreaker
- Fully charged mobile phone with essential maps and numbers
- A credit card or cash for just-in-case situations (and for after-ride snacks and beer!)
- Insurance card (and/or emergency contact info)
- Photo ID
- Sunscreen and bug repellent
Your Riding Pack:
Pro Tip: Pack these items into separate pouches, and leave them in your riding pack. Replenish straight away if you end up using anything.
First Aid
- Basic first-aid kit
- Any medication you may need on a regular basis
Food & Nutrition
- Energy supplements like a bar or trail snack
- Electrolyte supplements like salt tablets or Clif Bloks
- Water — make sure you have enough, and that your supply isn’t accidentally leaking out of your bite valve, reservoir or bottle
Tools & Spares
- Bicycle specific multi-tool
- Spare chain link and chain breaker(the chain breaker may already be a part of your multi-tool arsenal)
- Tire levers, spare inner tube (check that it fits your wheel size, and be sure to pick the right valve type for your rims)
- Patch kit (in case you are having the worst day ever)
- Hand pump OR 2 CO2 canisters (and valve adaptor, if necessary)
Sarah: I would personally recommend CO2, as it takes up much less space in your pack and the inflation time and success rate is much higher with pressurized air.
Your Bike:
Sarah: Bike checks will be a lot easier and a lot less stressful if you take your bike into a local shop that you trust, at least once a season for a full health check-up. If you ride a lot, and you probably ride more than you think you do, you'll need to bring your bike in more than once a season. Don't be afraid to take your bike into a shop for a diagnostic. Most shops will do this for free and only charge you if you decide to do the tune-up with them. Also, don't feel obligated to go with the first shop you approach. I encourage you to get a second or third opinion and most importantly, to find a shop with mechanics that you can trust. Finding the right mechanic truly is like looking for a bicycle doctor; find a professional shop that resonates with you and that you can communicate with.

When you do this, be careful not to jam your brake rotor into your knee. Not only could you get cut, but oils/moisturizer from your skin could contaminate your rotor and reduce its stopping power.
Cockpit check (stop giggling!)
If you stand in front of your bike and hold the front wheel between your knees, you should NOT be able to twist the handlebars out of being perpendicular to your front tire, or really, at all. We’re not trying to twist the head off your bike with this move so just gently twist side-to-side. If you can do this, your stem isn’t tightened enough. It needs to be realigned and snugged up according to spec. Note: This is almost ALWAYS done with the two bolts on the side of the stem, NEVER with the bolt at the very top of the stem.

These two little bolts on the side of the stem are what Sarah is referring to. NOT the bigger one at the top.
Wheels and tires
Is your front wheel in the fork dropouts correctly? Is your quick release skewer or thru-axle installed correctly, and is it tight enough? You should need to use a reasonable amount of pressure to close the skewer, i.e. palm pressure is needed to close it.
With one hand holding the frame, use the other hand to grab the rear wheel and try to rock the wheel laterally. There should be no looseness or play between the rear wheel hub and the rear dropouts. If you feel play, first check your rear skewer to make sure it is installed correctly, and is tight enough. If you still feel play, your hub may need adjustment, or your suspension pivot bolts could be loose (wouldn’t hurt to put a wrench on them) or your pivots may need servicing.
Check your front and rear tire pressure using a gauge or press test. Pump or release if necessary. If you are running tubeless tires, have you refreshed your sealant lately? That should be done at least once every 3 months.
While you’re at it, check the tread on your tires. They’re shoes to your bike, i.e. they give you traction on the trails. It’s important that they have good grip and are not too worn down, or you might shuck when you want to jive, and slide when you want to grip.

When you palm-press the lever closed, be sure to align to your fork (front) or frame (rear, parallel to rear triangle). This will keep it out of harm's way.

Check on how secure your wheels are by trying to rock each wheel laterally, in the direction of the green arrows.
Brakes
Lift the front end of your bike and spin the front wheel. Listen for rubbing sounds. If you notice rubbing sounds, your brake calipers or rotors might need adjusting. Do this for your rear wheel, as well.
Stop the front wheel from spinning by using your front brake. Make sure the brake is working as it should be, and that your brake lever doesn’t pull to the handlebar. If it does, you may need either a brake bleed, or new brake pads. Repeat this for your rear wheel and brake.
Suspension
Check your fork and rear shock pressure with a gauge, making sure it’s where you want it to be, and test your rear shock in all of its settings. Make sure your rebound is set up correctly and with about the same amount of bounce as your fork; if one is set up faster than the other, you may find yourself getting bucked off your bike accidentally.
Dropper-post
Test your dropper post, and make sure it’s lowering and returning as you expect it to.
Your Drivetrain
Make sure your chain is properly lubed, and does not sound like a sad, talkative mouse when you pedal your bike.
Test your gears, shifting up and down, using your cranks to turn the rear wheel between each shift. Make sure the gear shifts are smooth and easy.
Sarah: If there is anything inordinately sluggish or heavy/resistant with the shifting, you will need to check your cables for tension/fraying, and your rear derailleur for damage. There is a litany of things that can cause poor shifting, so if there is nothing immediately obvious to you, a shop will be able to help you to determine the cause for your bike’s insubordination.
Finally, before you pedal off:
- Is your bike with you?
- Okay, jokes aside and in all seriousness, if you take your wheels off to load your bike: Did you remember to take your front wheel with you? And do you have your front/rear wheel skewer?
- Are your shoelaces secure and tucked away?
- Is your helmet on, and is it buckled?
- Is your reservoir hose secure?
- Did you make sure your water didn't leak out in the car ride over?
- Is your pack zipped?
- Did you stow your car keys safely in a zipped pocket?
- Did you leave your gloves resting on the top of your car, or are they on your hands?
- Are you hydrated, rested and able to see the trail OK?
If your answer to all the above is a confident "Yes", you're good to go!
Phew. That's some list, huh? Well good on you for making it this far! It gets easier, we promise. Plus, now you'll never be that girl... ;)
Stay tuned for Part II with Sarah Hansing, where she covers other important parts on your bike that should be checked once a month!
Grace Chua is an escapee of Advertising, saved by mountain biking. She now pays it forward through volunteering with Girls Rock. Follow her love for bikes, cats, food and travel here.